Unlocking the Power of Kubectl Port-Forward: Ultimate Guide for DevOps


Introduction
In the world of DevOps, efficient management of containerized applications is crucial. Kubernetes, often简称k8s,has emerged as the de facto standard for container orchestration. One of the essential tools in the Kubernetes ecosystem is kubectl, a command-line tool for interacting with the Kubernetes cluster. Among its myriad functionalities, kubectl port-forward stands out as a powerful feature for local development and debugging. This guide will delve into the intricacies of kubectl port-forward, its applications in DevOps, and how it can be leveraged to streamline your development process.
Understanding Kubectl Port-Forward
What is Kubectl Port-Forward?
kubectl port-forward is a command that allows you to forward a port from your local machine to a pod within a Kubernetes cluster. This is particularly useful for accessing services running inside a pod from your local development environment, enabling you to debug or test applications without the need for a full network setup.
How Does Kubectl Port-Forward Work?
When you use kubectl port-forward, Kubernetes creates a bidirectional TCP tunnel between your local machine and the pod. This tunnel forwards traffic from your local port to the corresponding port on the pod, and vice versa.
Syntax of Kubectl Port-Forward
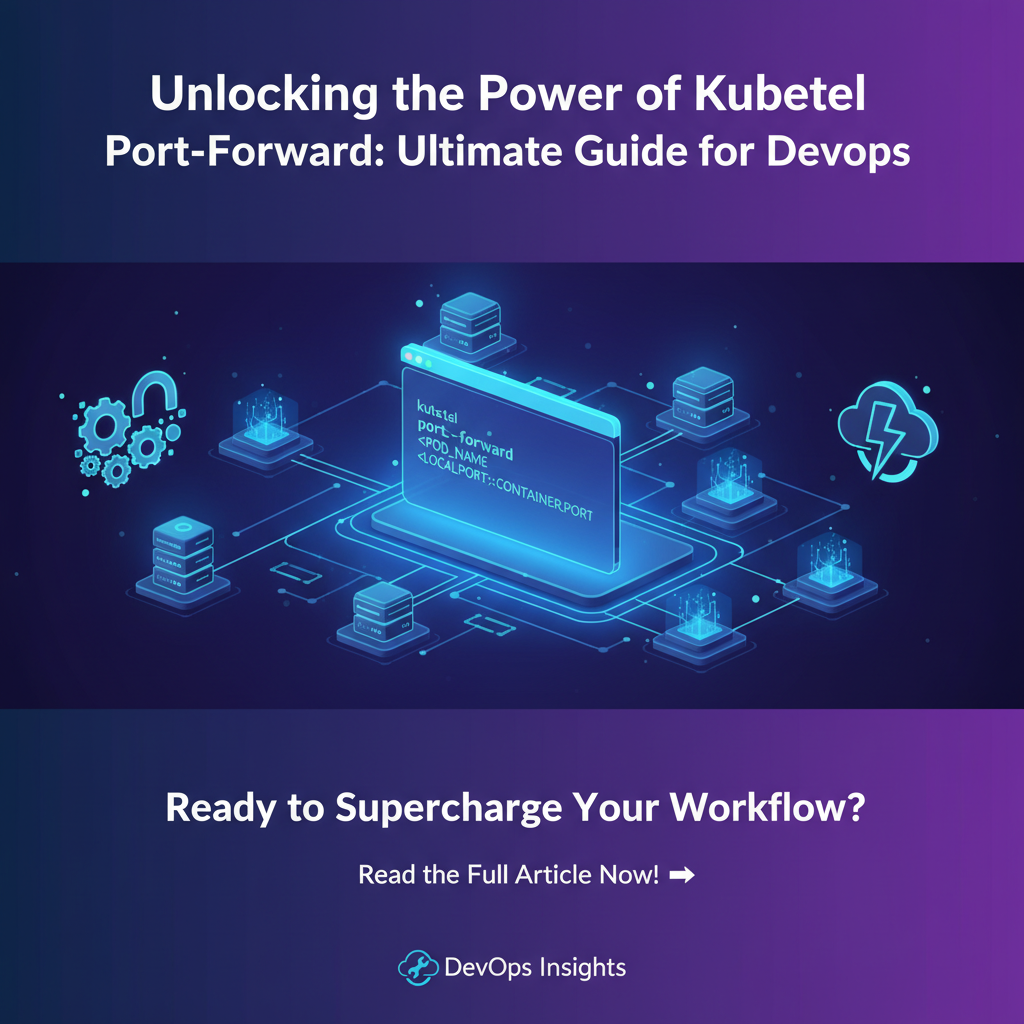
The basic syntax for kubectl port-forward is as follows:
kubectl port-forward <pod-name> <local-port>:<pod-port>
Here, <pod-name> is the name of the pod you want to forward the port to, <local-port> is the port on your local machine, and <pod-port> is the port on the pod.
APIPark is a high-performance AI gateway that allows you to securely access the most comprehensive LLM APIs globally on the APIPark platform, including OpenAI, Anthropic, Mistral, Llama2, Google Gemini, and more.Try APIPark now! 👇👇👇
Practical Applications of Kubectl Port-Forward in DevOps
Local Development
One of the primary uses of kubectl port-forward is for local development. By forwarding a port from your local machine to a pod, you can access services running inside the pod directly from your development environment. This is particularly useful when you are working on a microservices architecture, as it allows you to test individual services without the need for a full deployment.
Debugging
Another common use case is debugging. If you encounter an issue in a pod, you can use kubectl port-forward to access the pod's logs or debug tools directly from your local machine. This can save time and effort compared to setting up a full network environment.
Testing
kubectl port-forward is also invaluable for testing. You can use it to test a new feature or bug fix in a pod without deploying the entire application. This can help you catch issues early in the development cycle.
Enhancing Kubectl Port-Forward with APIPark
While kubectl port-forward is a powerful tool, it has its limitations. For instance, it can only be used for a single pod at a time, and it requires manual setup. This is where APIPark comes into play.
APIPark: The All-in-One AI Gateway & API Management Platform
APIPark is an open-source AI gateway and API management platform that can enhance your Kubernetes experience. With APIPark, you can manage your APIs, integrate AI models, and streamline your development process.
Key Features of APIPark
- Quick Integration of 100+ AI Models: APIPark allows you to easily integrate a variety of AI models into your applications.
- Unified API Format for AI Invocation: It standardizes the request data format across all AI models, simplifying API usage and maintenance.
- Prompt Encapsulation into REST API: Users can quickly combine AI models with custom prompts to create new APIs.
- End-to-End API Lifecycle Management: APIPark assists with managing the entire lifecycle of APIs, from design to decommission.
- API Service Sharing within Teams: The platform allows for the centralized display of all API services, making it easy for different departments to find and use the required API services.
How APIPark Enhances Kubectl Port-Forward
APIPark can be used to manage and forward traffic to multiple pods simultaneously. This means you can use APIPark to set up port-forwarding for multiple pods at once, simplifying the process and reducing the need for manual setup.
Conclusion
kubectl port-forward is a powerful tool for DevOps professionals working with Kubernetes. By understanding its capabilities and applications, you can streamline your development process, improve debugging efficiency, and enhance testing capabilities. With the added benefits of APIPark, you can take your Kubernetes experience to the next level.
FAQs
Q1: What is the difference between kubectl port-forward and kubectl expose?
A1: kubectl port-forward is used to forward a port from your local machine to a pod within a Kubernetes cluster. It is useful for local development and debugging. kubectl expose, on the other hand, is used to expose a service in the cluster to the outside world. It is useful for making services accessible from other machines.
Q2: Can I use kubectl port-forward to access services running on a node in the cluster?
A2: No, kubectl port-forward can only be used to access services running inside a pod. It cannot be used to access services running on a node.
Q3: How can I use APIPark to enhance my Kubernetes experience?
A3: APIPark can be used to manage and forward traffic to multiple pods simultaneously, simplifying the process of setting up port-forwarding. It also provides features like API management, AI model integration, and end-to-end API lifecycle management.
Q4: Is APIPark free to use?
A4: APIPark is open-source and free to use. However, it also offers a commercial version with advanced features and professional technical support.
Q5: Can I use APIPark with other Kubernetes tools?
A5: Yes, APIPark can be used with other Kubernetes tools. It is designed to be compatible with a wide range of Kubernetes tools and platforms.
🚀You can securely and efficiently call the OpenAI API on APIPark in just two steps:
Step 1: Deploy the APIPark AI gateway in 5 minutes.
APIPark is developed based on Golang, offering strong product performance and low development and maintenance costs. You can deploy APIPark with a single command line.
curl -sSO https://download.apipark.com/install/quick-start.sh; bash quick-start.sh

In my experience, you can see the successful deployment interface within 5 to 10 minutes. Then, you can log in to APIPark using your account.

Step 2: Call the OpenAI API.